Forms
Forms
https://www.loom.com/share/af3587a9e3114edf8a192effe9de8b91
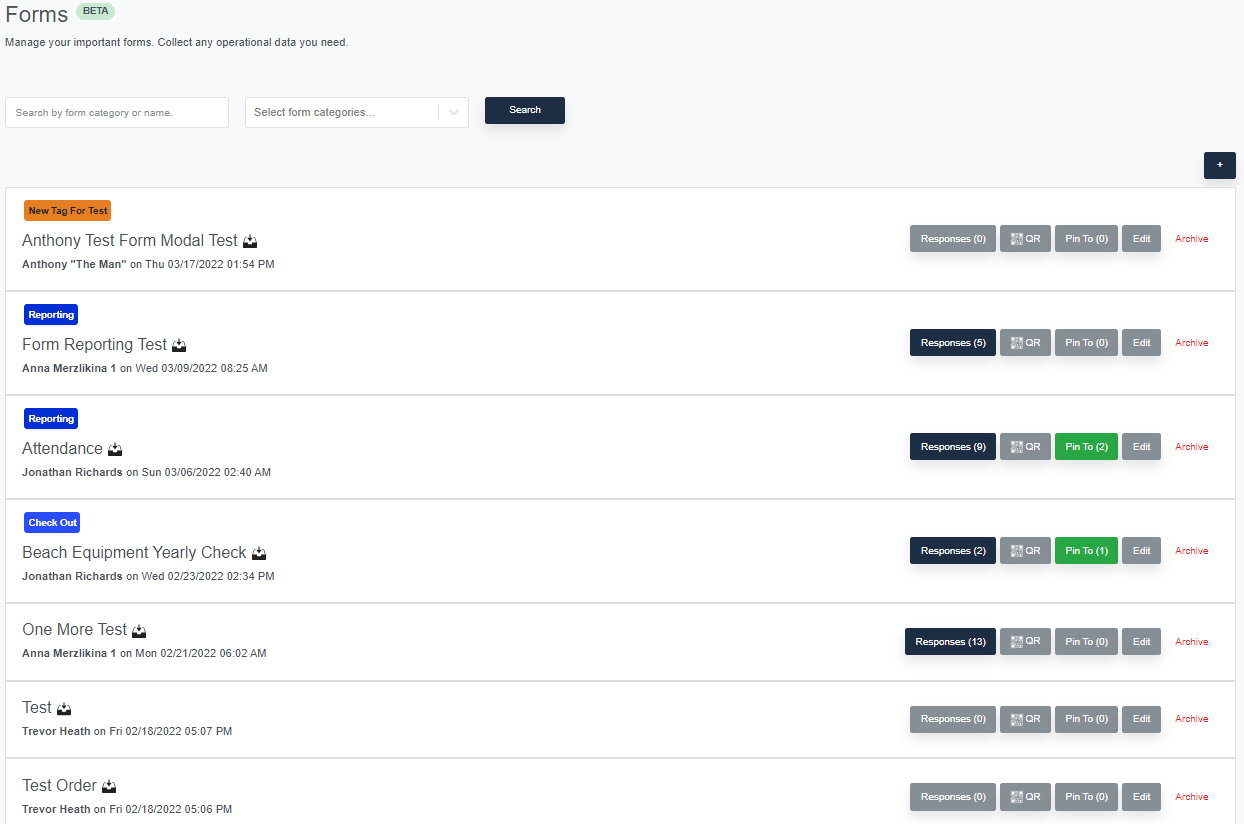
You can pin forms throughout platform making them as accessible to your team. You have the ability to create new forms under the Operations tab, but forms can be added to submitted incidents, found pinned to the Home tab, and even have their own auto-generated QR codes.
Creating a Form
- To create a new form simply use the + button found at the top right corner.
- Add a form name, tags (for organization), and create the questions you would like to ask. Each question can be a combination of.
- Text
- Number
- Yes / No
- Date
- File
- User
- Resource
- Asset
- Location
- Address
Different field types might work better for different questions. Below is a simple 2 question example:
- Next click Create Form
- If your form is eligible to allow status monitoring, you can click the status editor pulse icon (looks like a heart beat). This page allows you to relate questions in your form together with pulse statuses in order to update data. For example, if question 1 is referencing an asset (like Truck 5) and question 2 is asking for gas tank level, then a status can be connected between the two.
Now, when looking at the Truck 5 on pulse, you will be able to see the most recent answer for the question on each asset. This makes for great status information. See Statuses in the advanced section for more info.
https://www.loom.com/share/efa4bf93ed5b42339904b5a149154042

- Once your form is created, Now you may fill it out by clicking it in the list. However, forms can also be accessed by your team in multiple different ways. Either by clicking the form in the operations tab, attaching it to a submitted incident, pinning it to the Home or the submit screen, or even by generating QR codes and placing them in your headquarters.

Viewing Responses
Once forms have been submitted, you can quickly access their responses on the operations tab.

Any submitted forms will also be added to the Activity Log in real-time.
Save Progress

How it Works
With the new Save Progress feature, you can save all forms in a draft mode using the "Save Progress" button. Here's what happens when you save a form:
- All validations are turned off
- Pulse automations are skipped
- Email/Text alerts are not sent
These automation only run once the form is finally submitted.
Identifying Draft Responses
Draft responses are clearly indicated with a draft badge, helping you quickly identify incomplete submissions. It's important to note that draft responses are not included in reporting data, ensuring only finalized information is reflected in your reports.
Auto Save

What it is
As the name suggests, the form will automatically save your responses as you're answering questions. This function prevents any data loss due to unexpected interruptions, such as network issues or system crashes.
How to Enable it
Auto Save can be enabled on a form-by-form basis from the advanced settings of each form.
Here's how to do it:
- Open the form you want to apply Auto Save to.
- Navigate to Advanced Settings.
- Look for the Auto Save toggle and turn it on.
Please note that as Auto Save is a beta feature, you might experience some unexpected behavior. If you do, please report it to us so we can make necessary improvements.
Conclusion
The Save Progress and Auto Save features are designed to help you work with forms more efficiently and flexibly, allowing you to manage your time and effort better. If you have any questions or need assistance with these features, please reach out to our support team.
Updated on: 12/01/2026
Thank you!